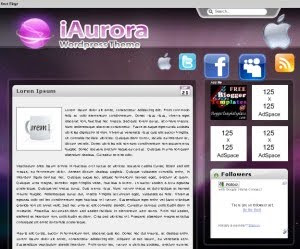
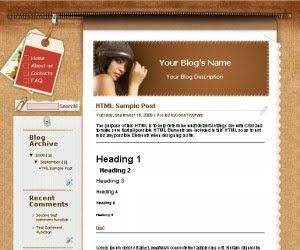
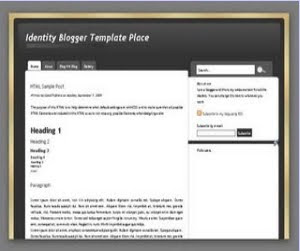
I have converted several wordpress template into blogger template. There is a new converted template that i was known. I am proud to provide converted wp themes for blogspot. As you know, wordpress have a nice templates. I hope my work will help you to choose a nice template for your blog.
I have published a new template in gallery template blog, with name Milano Blogger Template. Now, i would to make a tutorial to install this template into your blogger.
Log in to your Blogger dashboard and go to Layout >> Edit HTML
Remember to back up your old template. To do this, click on the "download full template" link and save the file to your hard drive.
Look for the section near the top where you can browse for your XML template.
Enter the location of your template and press "upload"
The HTML of your new template will now appear in the box below. You can preview your template or simply save to start using it!
Done. Enjoy!
Widget Installation Wizard
Slider Widget Content
There 2 area in slider content, Description widget and Slider Widget. Go to "Page Elements", and you will see the slider area at the top. There are two add widget link in slider area, widget for Slider and widget for description. Click that link to add a widget. When you want to add that widget, you should add this code to make it works. Skider Widget Code
You can use description area for anything you like it. I have use it for my self description.
Tabber sidebar
To add widget in tabber sidebar was same as your add another widget in blogger template. But to change tabber title, you must go to your template and look up for this code like in this image. The grey line in that picture are title in the tabber sidebar. You can change it for get another title in your tabber.
Subscribe Widget Setting
I was used another style of feed subscribe form for my blog.If you want to use this subscribe form style, just copy this code and paste it into HTML/Java Script Widget.
div class="rss_box">Sign up to receive breaking news as well as receive other site updates!</div>
In this template also was provide for banner 125X125 area. To make it more good looking in your template, add <ul> and <li>. Look up for my banner code that i have installed in my demo.
In navigation area, you can make sub-page and sub-subpage link. I think you have already know about it. But for someone who doesn't know about it, i will write how about make sub-page and sub-sub page link. Look up for this picture.In that picture you can see the navigation with sub-page and sub-subpage. When you want make a navigation link which doesn't have sub-page, you must use this code. <li class='page_item'><a href='Link' title='Page Title'>Page Title</a></li>. But when you want make a link which have sub-page and sub-subpage, you must use this code.
I hope this installation template wizard can help you to use Milano Blogger Template. And this template was installed avatar blogger comments, please read this tutorial to make it works on your blog. Install Avatar in Blogger Comments
Yesterday i was publish a new converted WP template in my gallery template blog. Now, i would to make a tutorial to install this template into your blogger. I think for the first in this tutorial, i would to rewrite a feature in Touch River Blogger Template. This template have main feature.
Log in to your Blogger dashboard and go to Layout >> Edit HTML
Remember to back up your old template. To do this, click on the "download full template" link and save the file to your hard drive.
Look for the section near the top where you can browse for your XML template.
Enter the location of your template and press "upload"
The HTML of your new template will now appear in the box below. You can preview your template or simply save to start using it!
Done. Enjoy!
Widget Installation Wizard
Slider Widget Content
Go to "Page Elements", and you will see the slider add widget at the top. There are two add widget link in slider widget area, widget for image and widget for description. Click that link to add a widget. When you want to add that widget, you should add this code to make it works. widget for image code
<ul> <li> <h2><a href="Your Link Article" rel="bookmark" title="Your Title">Your Title</a></h2> <p>Description Text.... <a href="Your Link Article">Read→</a></p> </li>
<li> <h2><a href="Your Link Article" rel="bookmark" title="Your Title">Your Title</a></h2> <p>Description Text.... <a href="Your Link Article">Read→</a></p> </li> </ul>
Tabber sidebar
To add widget in tabber sidebar was same as your add another widget in blogger template. There another different way. But to change tabber title, you must go to your template and look up for this code like in this image. The dash blue line in that picture are title in the tabber sidebar. You can change it for get another title in your tabber.
Feed Setting
I was set this into blogger feeds, for example http://all-iknow.blogspot.com/feeds/posts/default. If you want to change it into your FeedBurner Subscription Link, just go to your "Edit HTML" and then try to find this code.
<div class='rssbox'>
 <a href='/feeds/posts/default'><img alt='Subscribe to My Blog' src='https://blogger.googleusercontent.com/img/b/R29vZ2xl/AVvXsEh3Dl6ETs2z_vJy8_w1UDd54zOkuDCPyiKwfBMiFXRjtrWDgRNdyrv3mOa91X5LcVJpVyF07UoDpN5eEytLXIRfh3LBGyFgIj9TO38On38wW7DAvAQt94CQ2aeFzL_5juiZ-6bpmJHctVU/s1600/rss.png'/></a>
</div>
Change " '/feeds/posts/default' " with your FeedBurner subscription link.
Yesterday i was posted an article about blogger template tutorial. I will continue this tutorial. Before we learn how to make or customize our template, i think we should know about CSS (Cascading Style Sheets) and HTML (Hypertext Markup Language). There are important thing for our template. Now, i start to continue of blogger template tutorial with explaining about CSS.
Cascading Style Sheets (CSS) is a style sheet language used to describe the presentation (that is, the look and formatting) of a document written in a markup language. Its most common application is to style web pages written in HTML and XHTML, but the language can be applied to any kind of XML document, including SVG and XUL.CSS is designed primarily to enable the separation of document content (written in HTML or a similar markup language) from document presentation, including elements such as the colors, fonts, and layout.
Usually in blogger template, CSS code was placed in head area (between <head> and </head>). Look up for this picture. In this picture, there are several CSS code for body and outer wrapper. In that CSS there are curly bracket {}, (:), and (;). There is the rules when we write CSS. When you write CSS, you place the declaration within curly brackets {}. Properties and values are separated by a colon (:), and property/value pairs are terminated by a semicolon (;). There was background, width, padding, margin, border word in that example picture. To know what is the meaning of that word, look up for this picture.
Body area with width 990px and background color is grey (#AAAAAA), and than color of body content is black (#202020) with font size 12 px and font type is arial, tahoma or verdana. Body area have margin 0px auto 0px, this have a meaning this area will have margin-top 0px, margin-right and bottom auto (will be center) and margin-left also 0px. and the content of body will have margin 0px. Also, there are some area that are use picture as background. To apply your favorite background, we must add picture url to CSS code, like this one.
body { background-image: url(background_image.jpg); }
And the result will be like this.
body { background-image: url(background_image.jpg) no-repeat; }
And the result will be like this.
body { background-image: url(background_image.jpg) repeat-x; }
And the result will be like this.
body { background-image: url(background_image.jpg) repeat-y; }
I was converted a couple of wordpress template, like: magazine music premium, Wcute, ePhoto. Many of my friends was ask to me how to convert it. I really don't know how to answer that question, because i just do it (convert wordpress template). I just make it into CSS style. Maybe to answer that question, i want to make a tutorial about blogger template. In this tutorial, i will give that all-iknow (all i know). But, before i make article about Template Blogger Tutorial, i want ask apologize if i have mistake in my article.
Generally, the actual structure of any templates are not exactly the same, but for the most blogs, their template consist of the headers, footers, and posts sections. But there are some sections (I'll call these sections blocks or containers afterward) that are not visible on the computer screen, but important HTML-wise to build a practical and proper working template. A template, basically have structure like this: Going from the biggest to the smallest blocks:
1. Body: the outer most block is the Body of your template (basically everything that the computer screen covers).
2. Outer-wrapper: this container covers your whole template (the body is more like the outside of your template). In general, you build a wrapper to place a multiple of smaller blocks inside it. The most common blocks inside this Outer-wrapper is the Header, Post, Sidebar, and Footer.
3. Header: this block is the top most part of your blog (the name is quite obvious). But inside the Header you will have other sub-blocks too - the Header Title block, the Header Description block, and others such as the Adsense banners, a menu bar, etc. So, to wrap all these sub-blocks inside one large container, the largest container in the Header section is usually a Header-wrapper that wraps everything inside.
4. Content: below the Header is the Content-wrapper - basically the most important container block of all. Immediately inside this wrapper are the Sidebar containers (1,2 or any number of sidebars) and the Main container (which contains your posts, comments, or some ads).
5. Footer: is the bottom most container of your template. As in the Header section, you'll also need a Footer-wrapper to contain other sub-blocks in the Footer section.
6. Main: the Main-wrapper is the outer most container in the Main section which goes inside the Content-wrapper. Inside this Main-wrapper are the Post block, Comment block, Date Header, and other widgets created from the Add Page Element option.
7. Sidebar: is the block that contains all your side widgets . In a standard Blogger template, you will usually find only 1 sidebar.
8. Blog Post: this block contains the important stuff - your Posts Titles, Post, Post Author, Labels, etc.
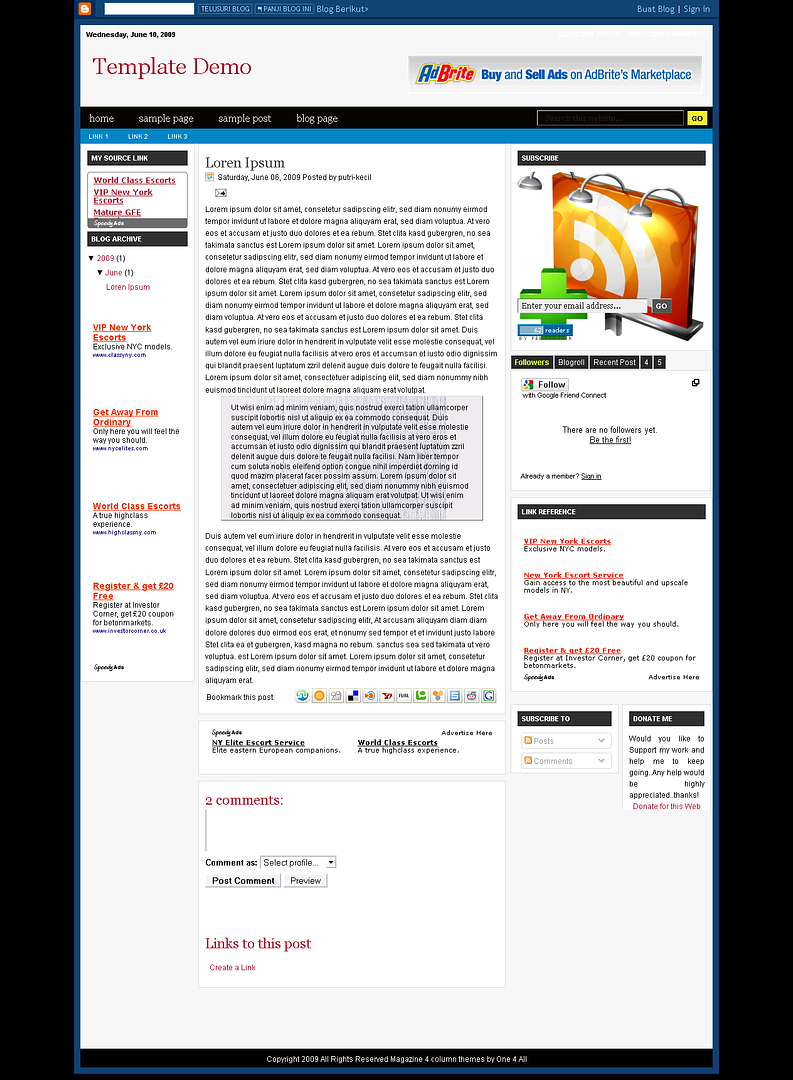
Last time i was launched two template, Magazine 4 Column and Technorati Style Template. Now, i try to make a new template. I am try to convert a wordpress template in to blogger template. Honestly, i really don't know how to convert a wordpress template. someone told me that to make it is use Dreamweaver software. But i am make it with different style and of course the result are not optimize. But, i was feel proud. Although the result is not perfect than the other converter. My new wordpress converted template is like this.
I try to converted another ones. And i will give it for free if there are like to this template. Just leave comment and your email if you want it. I will send the XML code for you. Free. But i will appreciate if you like to this template just don't change the credit code and hope you want to bookmark this article to social bookmarking web.
Last time i was launched my first template that I was called it "Magazine 4 Column", and i never thought that my template was downloaded by many people. Now, i try to launch my second template. I call it "Technorati Style Template". Why i was choose that name? Because that template similar with technorati. Technorati was give me an inspiration to make a second template. I think technorati have a great template, simple but very nice. So, i decided to make it. Now, i want to share this template with all of blogger. And with proudly, i am publish my second template. Technorati Style Template.
I hope this template is useful for us. If you like this template, download it. It's free of charge, but please do not change "credit" code to appreciated my work. Best Regard One-4-all
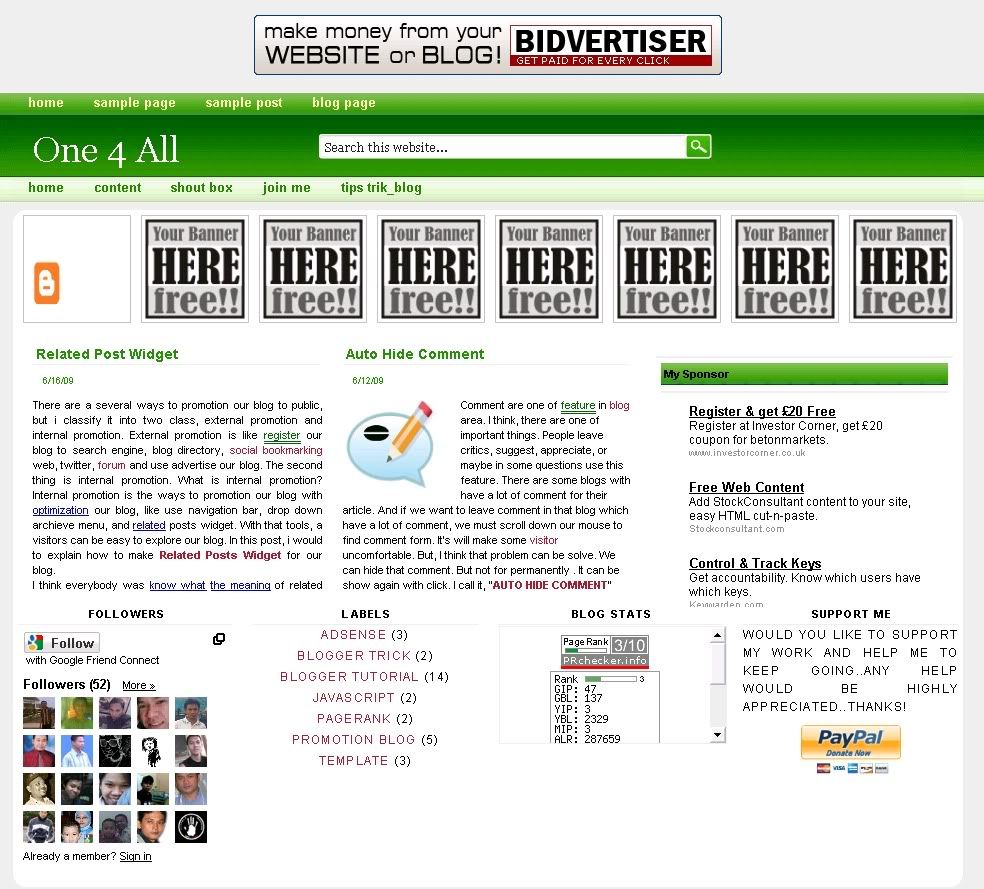
Finally, i was created one template by my self. inspired by magazine template, i make a template with magazine style and 4 column. I called it magazine 4 column.
TEMPLATE INFORMATION
Template type: Blogspot template
Designer: One-4-All
Featured:
a. 4 Column
b. Adsense Space (300X250, 468X60 navbar area, 468X60 post area)
c. Social bookmarking
d. Autohide trick comment
Navigation bar or most often people said it Navbar is one of tools that is use to explore something. I use it to help a visitor to explore my blog. Almost template use it in horizontal style like this.
But i was used two type in my another blog.... tipsandcara, horizontal type and vertical type. My navigation bar in vertical type have appearance like this one:
When my visitor want to explore my blog, just click and list of my blog will appear.... like this one:
To use that style, there is a couple things to do.
1. click this link to download package that contain the script and image that used in this trick.
Upload all of in contain to your favorite web hosting (ripway, photobucket, hotlinkfiles, or something else). Write the URL, it will be use in next step.
2.Copy and paste this code to your template before </head>. Before you insert the code, you must change "your Script URL" with yours.
3.Copy and paste this code after ]]></b:skin> and before </head>.
there are several word that you must change. There is plus.gif, minus.gif, glossyback.gif, glossyback2.gif with yours URL of that image.
4.Go to layout template in blogger account, click "Page Element" and then click add a gadget. Click "HTML/Javascript" option. Inside that option, add this code.
Change that code with your own links. Save your template and see the result.
Sometime we feels boring about our blogger template. Sometime we want some more attractive template, sometime we want a more simple template.(I dream this thing)The most question is how to change it? How to make our eagerness become true? Now i want to share how to this. I will write some article about it.
Ok, to safe our time I will start it. First, we must have a template that will be use. we can download it from a web. For an example you can download in www.freetemplates.blogspot.com, or in this site www.finalsense.com, or in www.eblogtemplates.com, and many more site that offering a free template. but must be remember, sometime we download in zip file or rar file. we must extract first. After have a template, we must log in into our blog. I'm sure that we was know how to log in. Go to layout, and then go to "edit HTML", and then browse your template file. After that click upload. Wait it until upload process was finished. I suggess you take a rest for a moment, drink coffee maybe...,or make a call your friends, or something to relaxation your body.(just tips...)
Finish...?? if no one instruction on your monitor, it's mean your process was success. But if appear in your monitor, you must fix that instruction. for an example, if that was appear "More than one widget was found with id: Label1. Widget IDs should be unique", it means in your code, there is a two item (see the line word) with have a same number. You must make it different number. So, you must change the code.
I hope this article can be help for anyone, essepecially for a newbie like me.